How To Record Your Screen On Mac In 2026 (Step By Step)
Learn 3 ways to record your screen on Mac: built-in tools, QuickSnip, and alternatives. Step-by-step guide with screenshots and troubleshooting tips.
Record Your Screen Using Mac's Built-In Tools
macOS includes a free screen recorder built right into the operating system. Here's how to use it:Open The Screenshot Toolbar
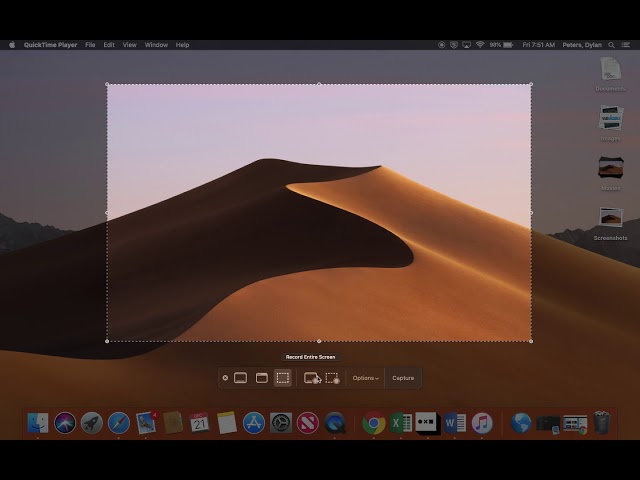
Press Cmd + Shift + 5 on your keyboard. A floating toolbar appears at the bottom of your screen with options for screenshots and screen recording. You'll see icons for capturing the entire screen, a selected window, or a selected portion — plus two recording options on the right side.
Choose Your Recording Mode
You have two recording options in the toolbar:
- Record Entire Screen — captures everything on your display, including the menu bar and dock. Click the icon that shows a full screen with a record button.
- Record Selected Portion — lets you drag a rectangle to record only a specific area. Useful when you want to capture a single app window without the rest of your desktop.
Pick the one that matches what you need. For tutorials and demos, "Record Selected Portion" usually gives you a cleaner result.
Configure Audio (Optional)
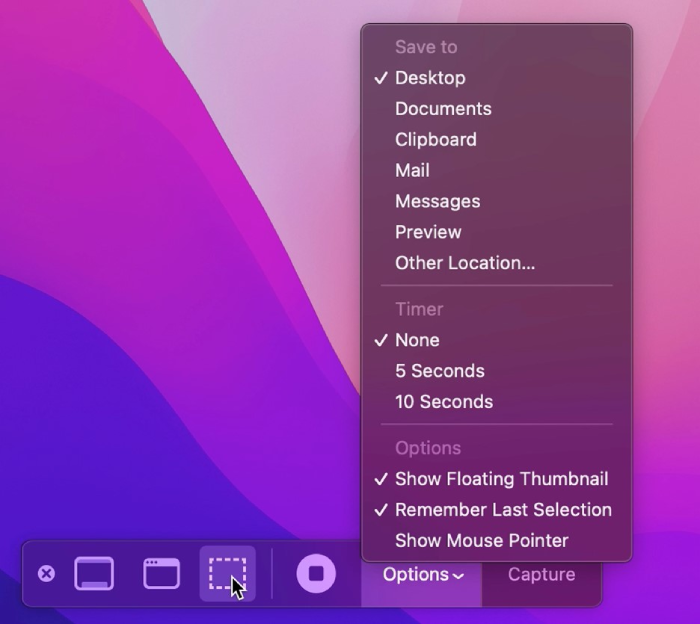
Click Options in the toolbar. Under the Microphone section, select your preferred microphone to include voiceover narration. You can also set a countdown timer (5 or 10 seconds) and choose where the recording file saves.
Important: the built-in Screenshot toolbar does not capture system audio by default. If you need to record the sound coming from your Mac (app audio, browser audio, music), you'll need a third-party tool.
Start Recording
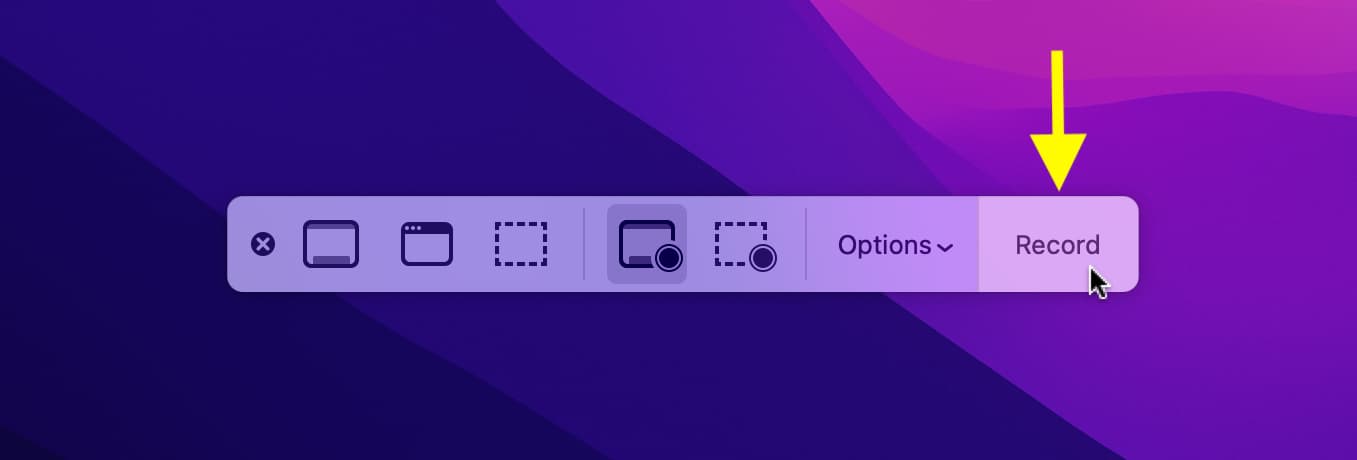
Click the Record button in the toolbar. If you selected "Record Entire Screen," recording starts immediately. If you chose "Record Selected Portion," drag to select your area first, then click Record. A small stop icon appears in your menu bar at the top right of the screen.
Stop And Save
Click the stop button in the menu bar (or press Cmd + Shift + 5 again and click Stop). Your recording saves as a .mov file to the location you chose in Options — by default, that's your desktop.
A thumbnail preview appears briefly in the bottom-right corner. Click it to trim the beginning or end before saving.
Limitations Of The Built-In Tools
The Screenshot toolbar is fine for quick, simple captures. But it has real limitations:
- No webcam overlay — you can't show your face alongside the recording
- No system audio capture without third-party software
- No instant sharing — your file is stuck on your desktop until you manually upload it somewhere
- No 4K recording control — output quality depends on your display settings
- Large .mov files that are hard to share over email or chat
Record Your Screen With QuickSnip (Recommended)
QuickSnip gives you everything the built-in Mac tools lack: 4K recording, system audio, webcam overlay, and instant sharing with a single click.Download And Install QuickSnip
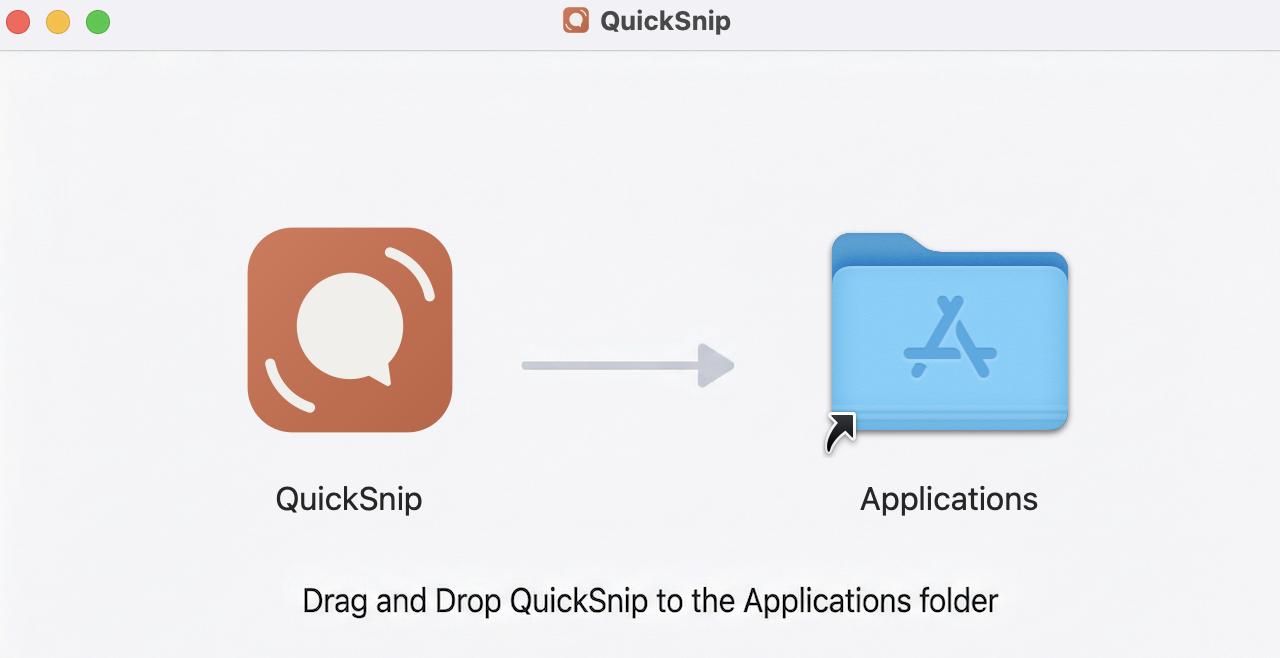
Go to quicksnip.com/download and grab the Mac installer. Open the .dmg file, drag QuickSnip to your Applications folder, and launch it. The entire setup takes less than a minute.
Grant Screen Recording Permission
The first time you launch QuickSnip, macOS will ask for screen recording permission. Go to System Settings > Privacy & Security > Screen Recording and toggle QuickSnip on. You may need to restart the app after granting permission.
This is a one-time setup. macOS requires this for any app that captures your screen.
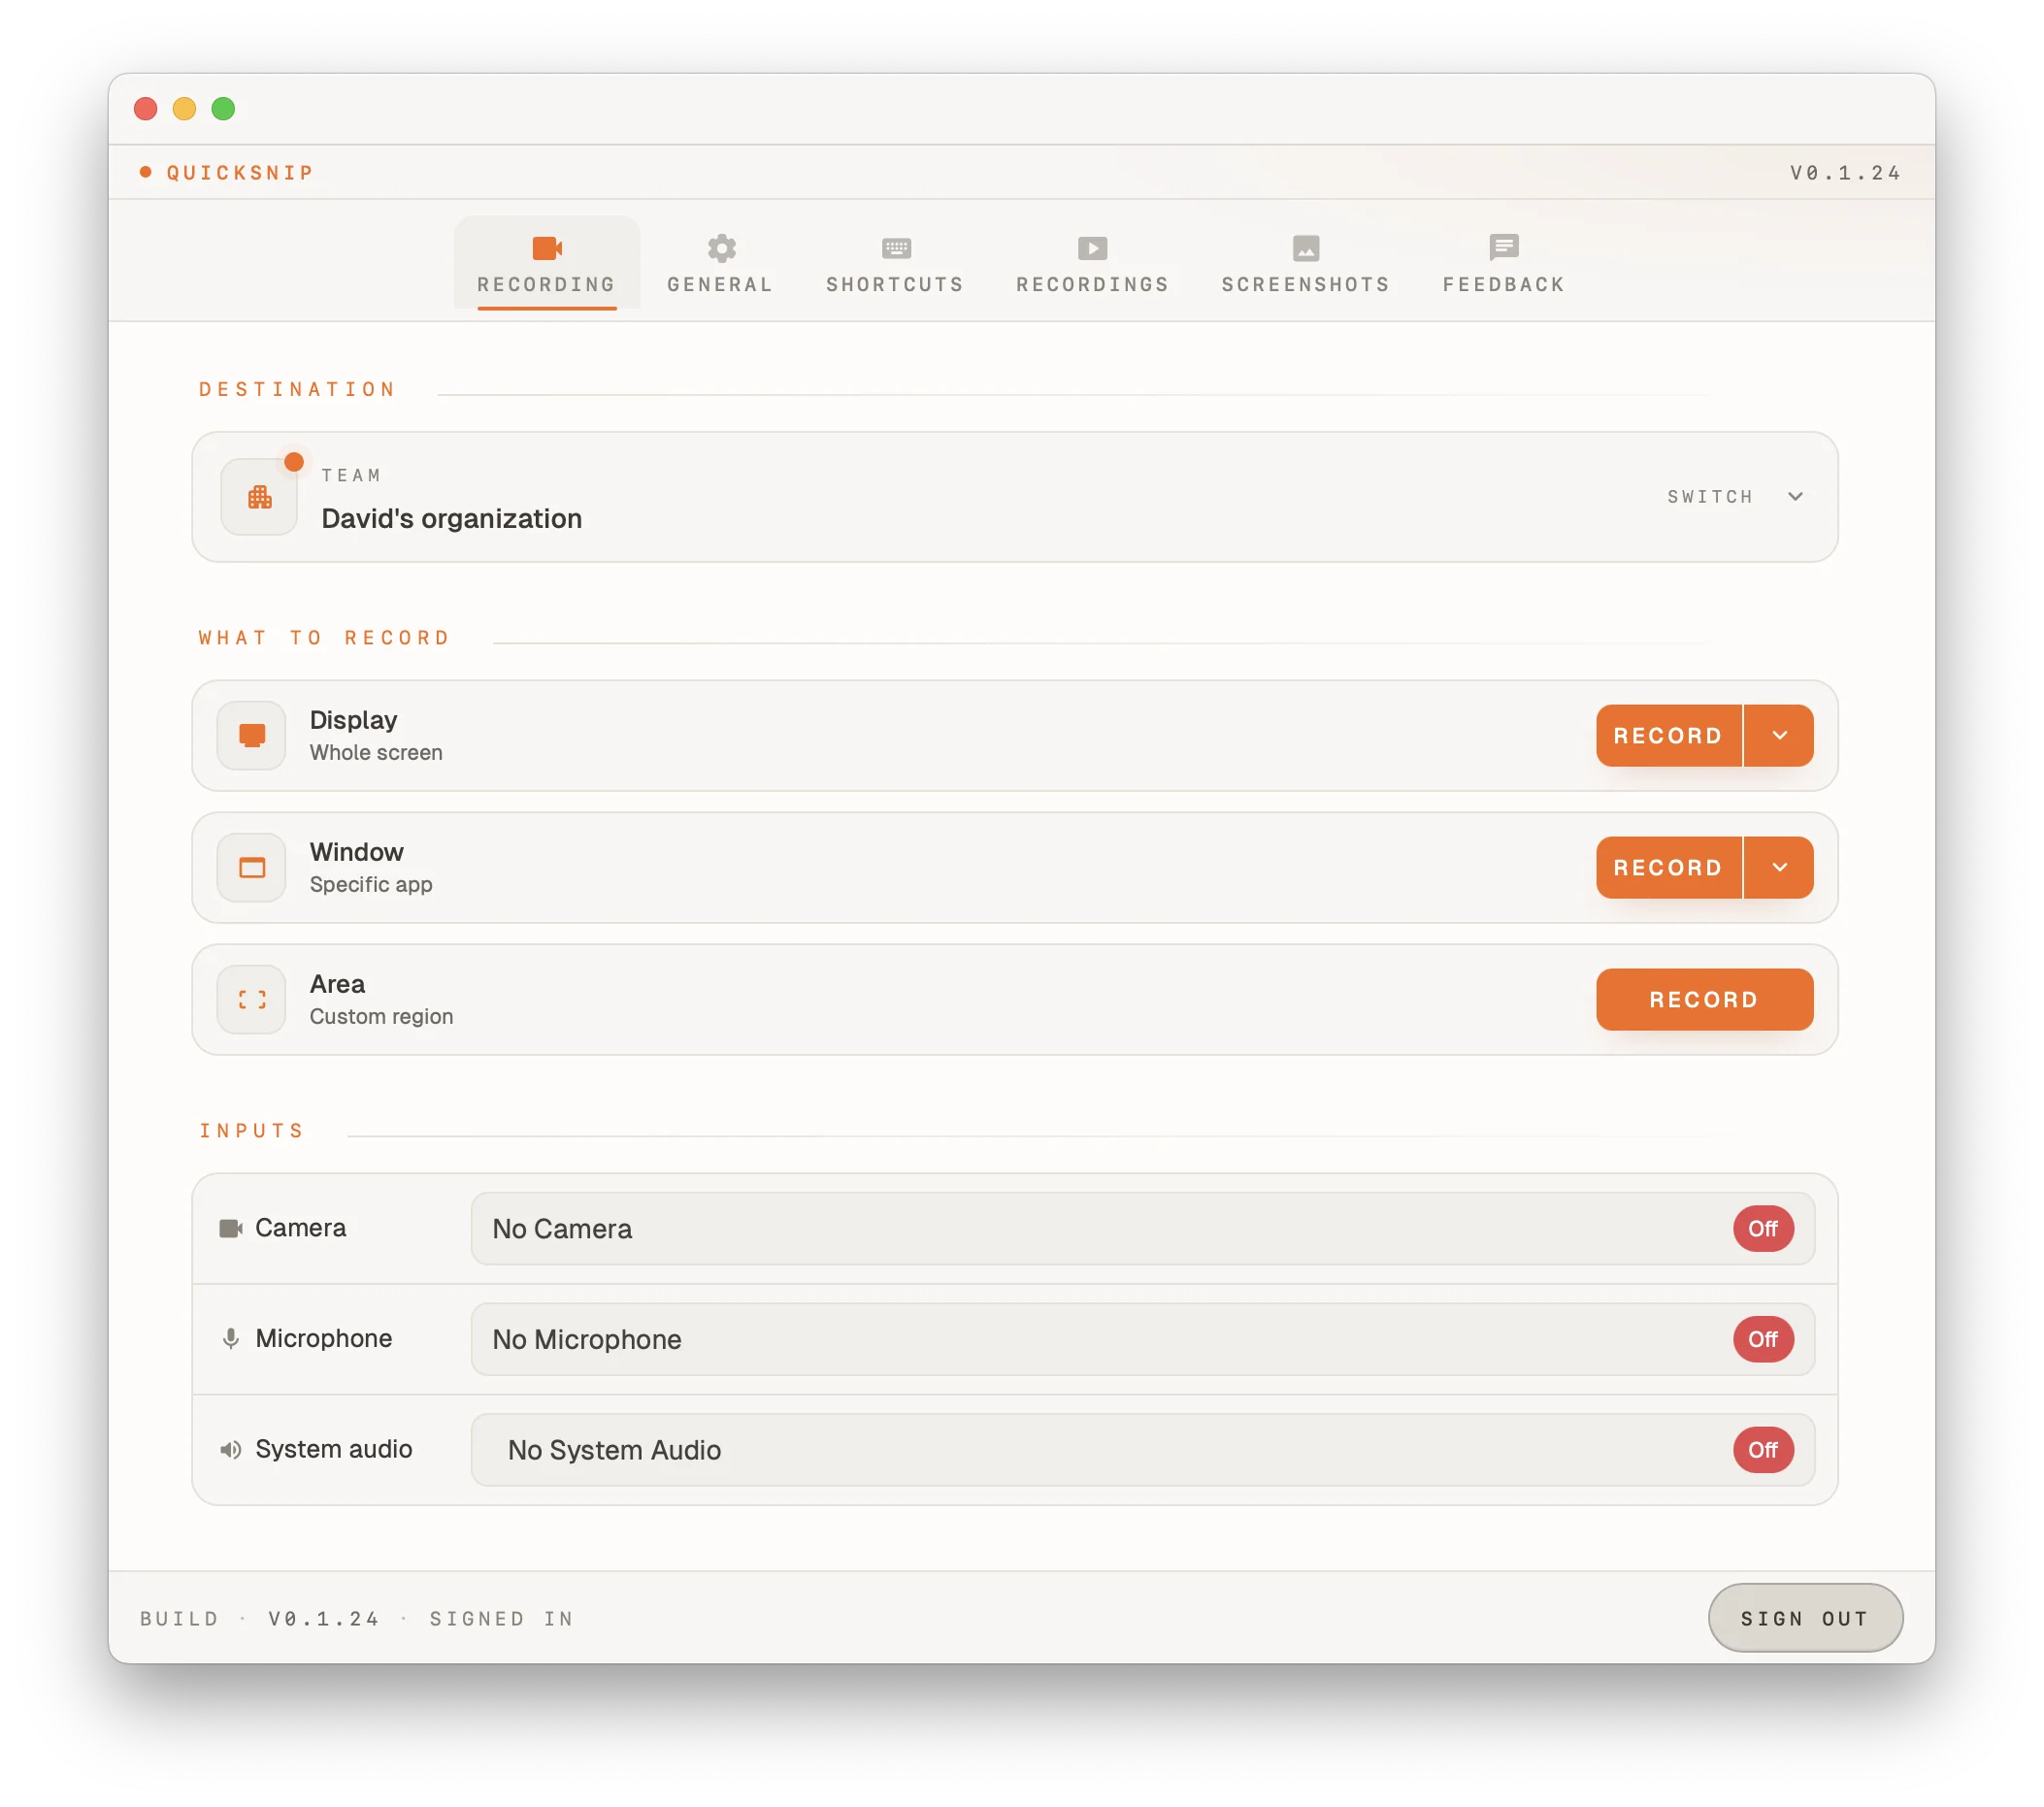
Choose Your Recording Settings
QuickSnip's recording panel lets you configure everything before you start:
- Screen or window — select which display or specific window to record
- Webcam overlay — enable a resizable camera bubble that shows your face
- Microphone — pick your preferred mic for voiceover
- System audio — toggle on to capture sounds from your Mac (app audio, browser audio, notifications)
All of these work on the free plan.
Press Record
Click the record button or use the keyboard shortcut. Recording begins immediately with a brief countdown. QuickSnip stays out of your way while you work — a small indicator in the menu bar shows that recording is active.
Stop And Share Instantly
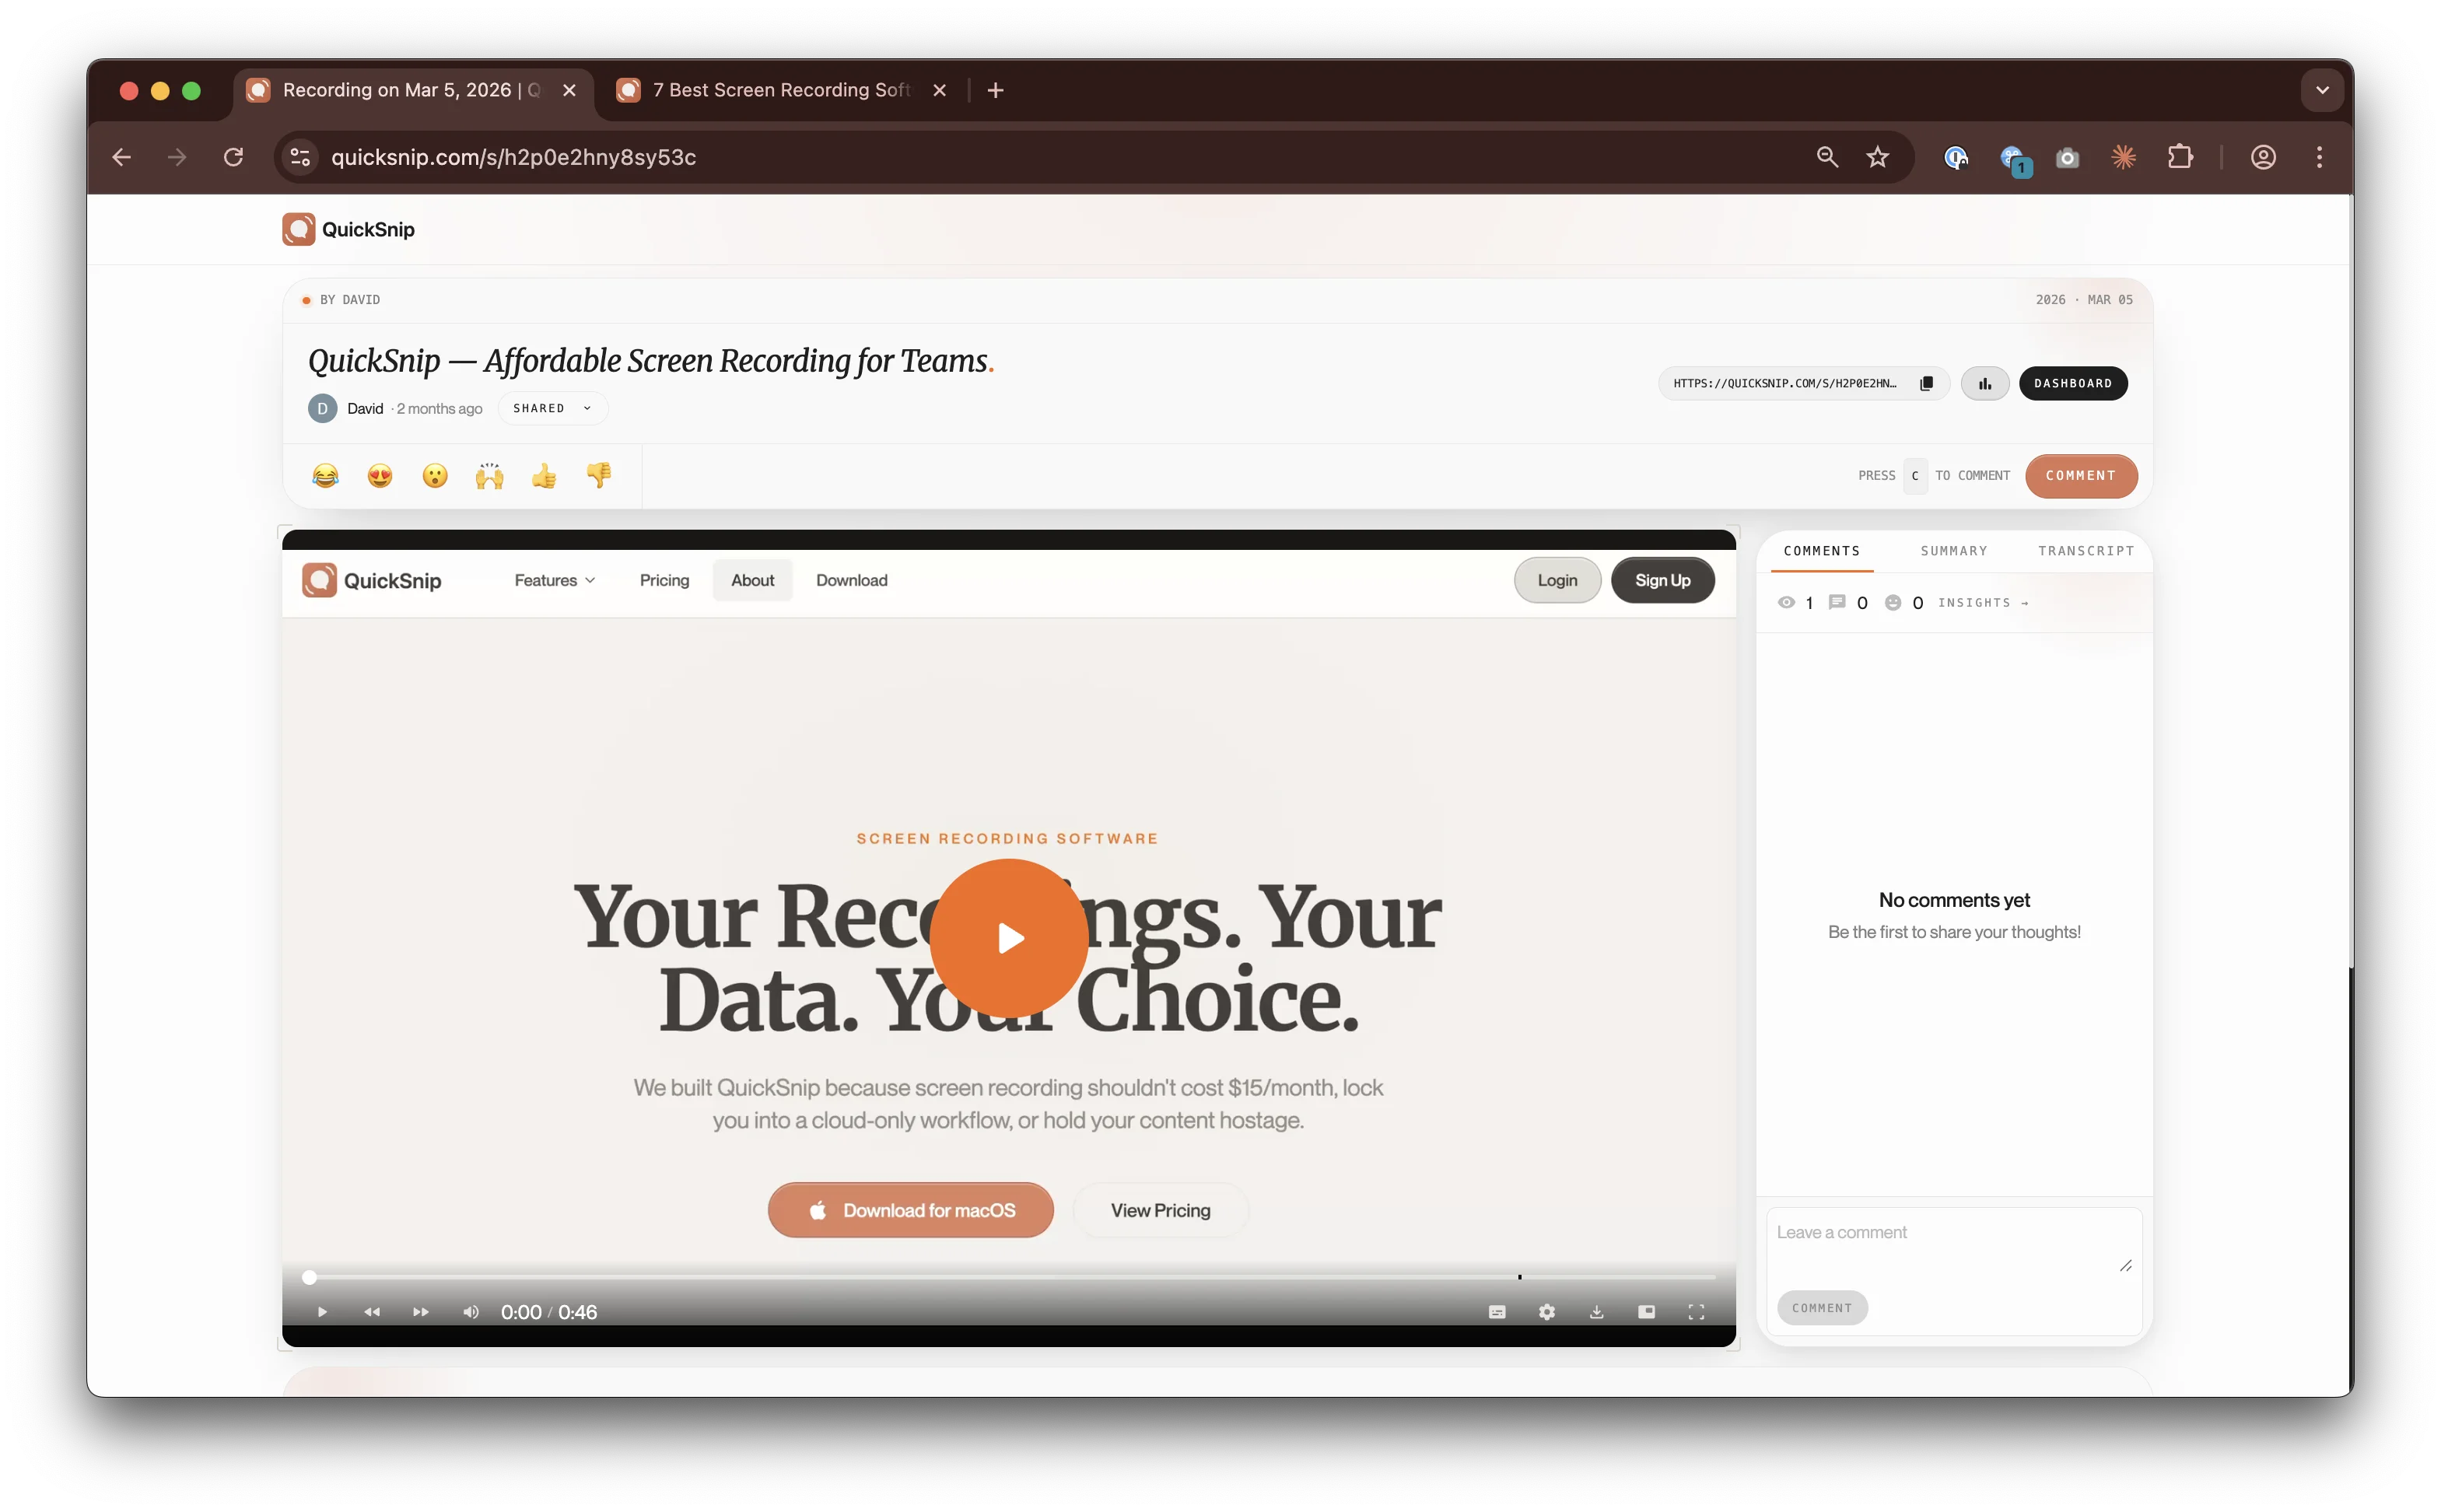
Click stop when you're done. Your shareable link is ready immediately — no upload wait, no processing time, no file management. Copy the link and send it to anyone. They can watch it in their browser right away.
This is the biggest difference between QuickSnip and built-in tools. With the Screenshot toolbar, you get a .mov file on your desktop that you have to manually upload somewhere. With QuickSnip, you get an instant shareable link the moment you stop recording.
Why QuickSnip Is Better For Mac Users
Here's what you get that the built-in tools don't offer:
- 4K recording — crystal-clear text and UI details
- AI-generated captions — automatic captions and searchable transcript on paid plans
- Instant sharing — shareable link ready the moment you stop recording
- Webcam overlay — show your face in a resizable bubble
- System audio capture — record Mac audio without any workarounds
Common Mac Screen Recording Issues
Screen Recording permission denied
Open System Settings > Privacy & Security > Screen Recording and make sure your recording app is toggled on. If the toggle is already on, turn it off and back on again. Then fully quit and relaunch the app. macOS sometimes requires a restart of the app after changing permissions.No audio in my recording
The built-in macOS Screenshot toolbar and QuickTime Player only capture microphone audio — they do not record system audio (sounds from apps, browsers, or media players). To capture system audio, use QuickSnip, which handles both mic and system audio natively without any extra setup.Recording is blurry or low quality
Make sure you're recording at your display's native resolution. Don't scale down the recording area before capturing. If you're using the built-in tools, the output resolution matches your display settings. For guaranteed crisp recordings, use a tool that supports 4K output regardless of display resolution.File is too large to share
The .mov files from Mac's built-in tools are minimally compressed, so they grow large quickly. A 5-minute recording can easily exceed 500 MB. Use a tool with built-in compression and cloud sharing like QuickSnip to avoid this problem entirely — you get a shareable link instead of a massive file.Can't record a specific window
The Screenshot toolbar (Cmd + Shift + 5) lets you record the full screen or a selected area, but it doesn't offer true window-specific capture that follows a window if you move or resize it. For dedicated window capture mode that tracks a single window, use QuickSnip's window recording option.Mac Screen Recording Tips
Enable Do Not Disturb
Prevent notifications from interrupting your recording. Open System Settings > Focus and enable Do Not Disturb before you start. Nothing ruins a clean recording like a Slack notification popping up mid-sentence.Use an External Microphone
Built-in Mac microphones pick up fan noise, keyboard clicks, and ambient room sound. Even a $30 USB microphone makes a dramatic difference in audio quality. If you record frequently, it's the single best upgrade you can make.Clean Your Desktop First
Hide desktop icons (right-click the desktop and uncheck "Show View Options") and close unnecessary windows before recording. A clean workspace looks more professional and keeps your audience focused on the content.Learn the Keyboard Shortcuts
Cmd + Shift + 5 opens the built-in Screenshot toolbar. QuickSnip has customizable hotkeys so you can start and stop recording without switching windows. Memorize your shortcuts and you'll save time on every recording.