DocsRecording
Audio Settings
Microphone Selection
QuickSnip detects all available microphones on your system. To choose which one to use:
- Open the recording panel
- Click the microphone dropdown
- Select your preferred microphone
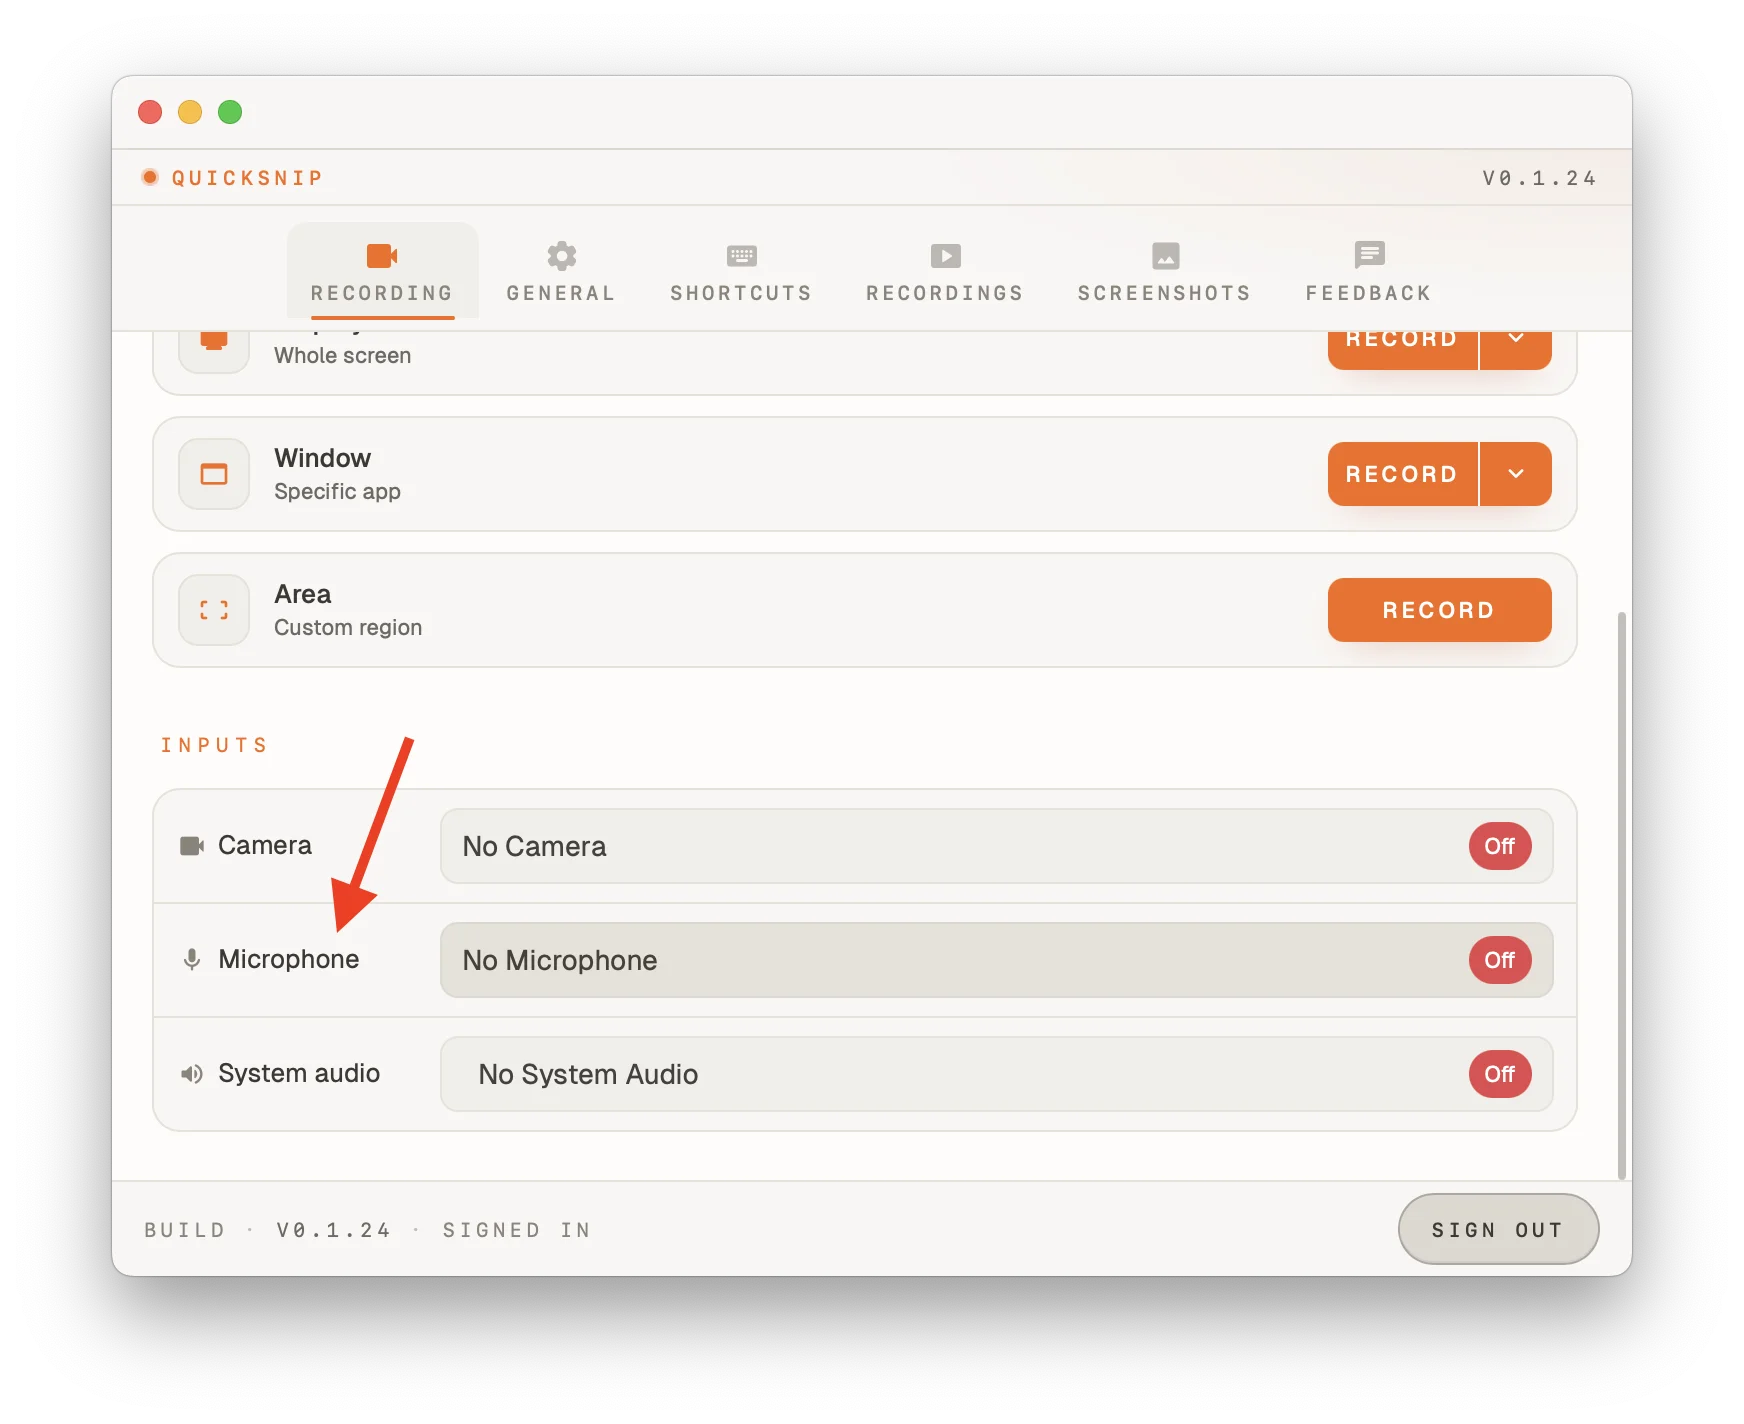
If you don't want to record voiceover, select No Microphone to disable mic input entirely.
System Audio
System audio captures the sounds coming from your computer — app sounds, music, notification sounds, and anything else playing through your speakers.
Toggle system audio on or off from the recording panel.
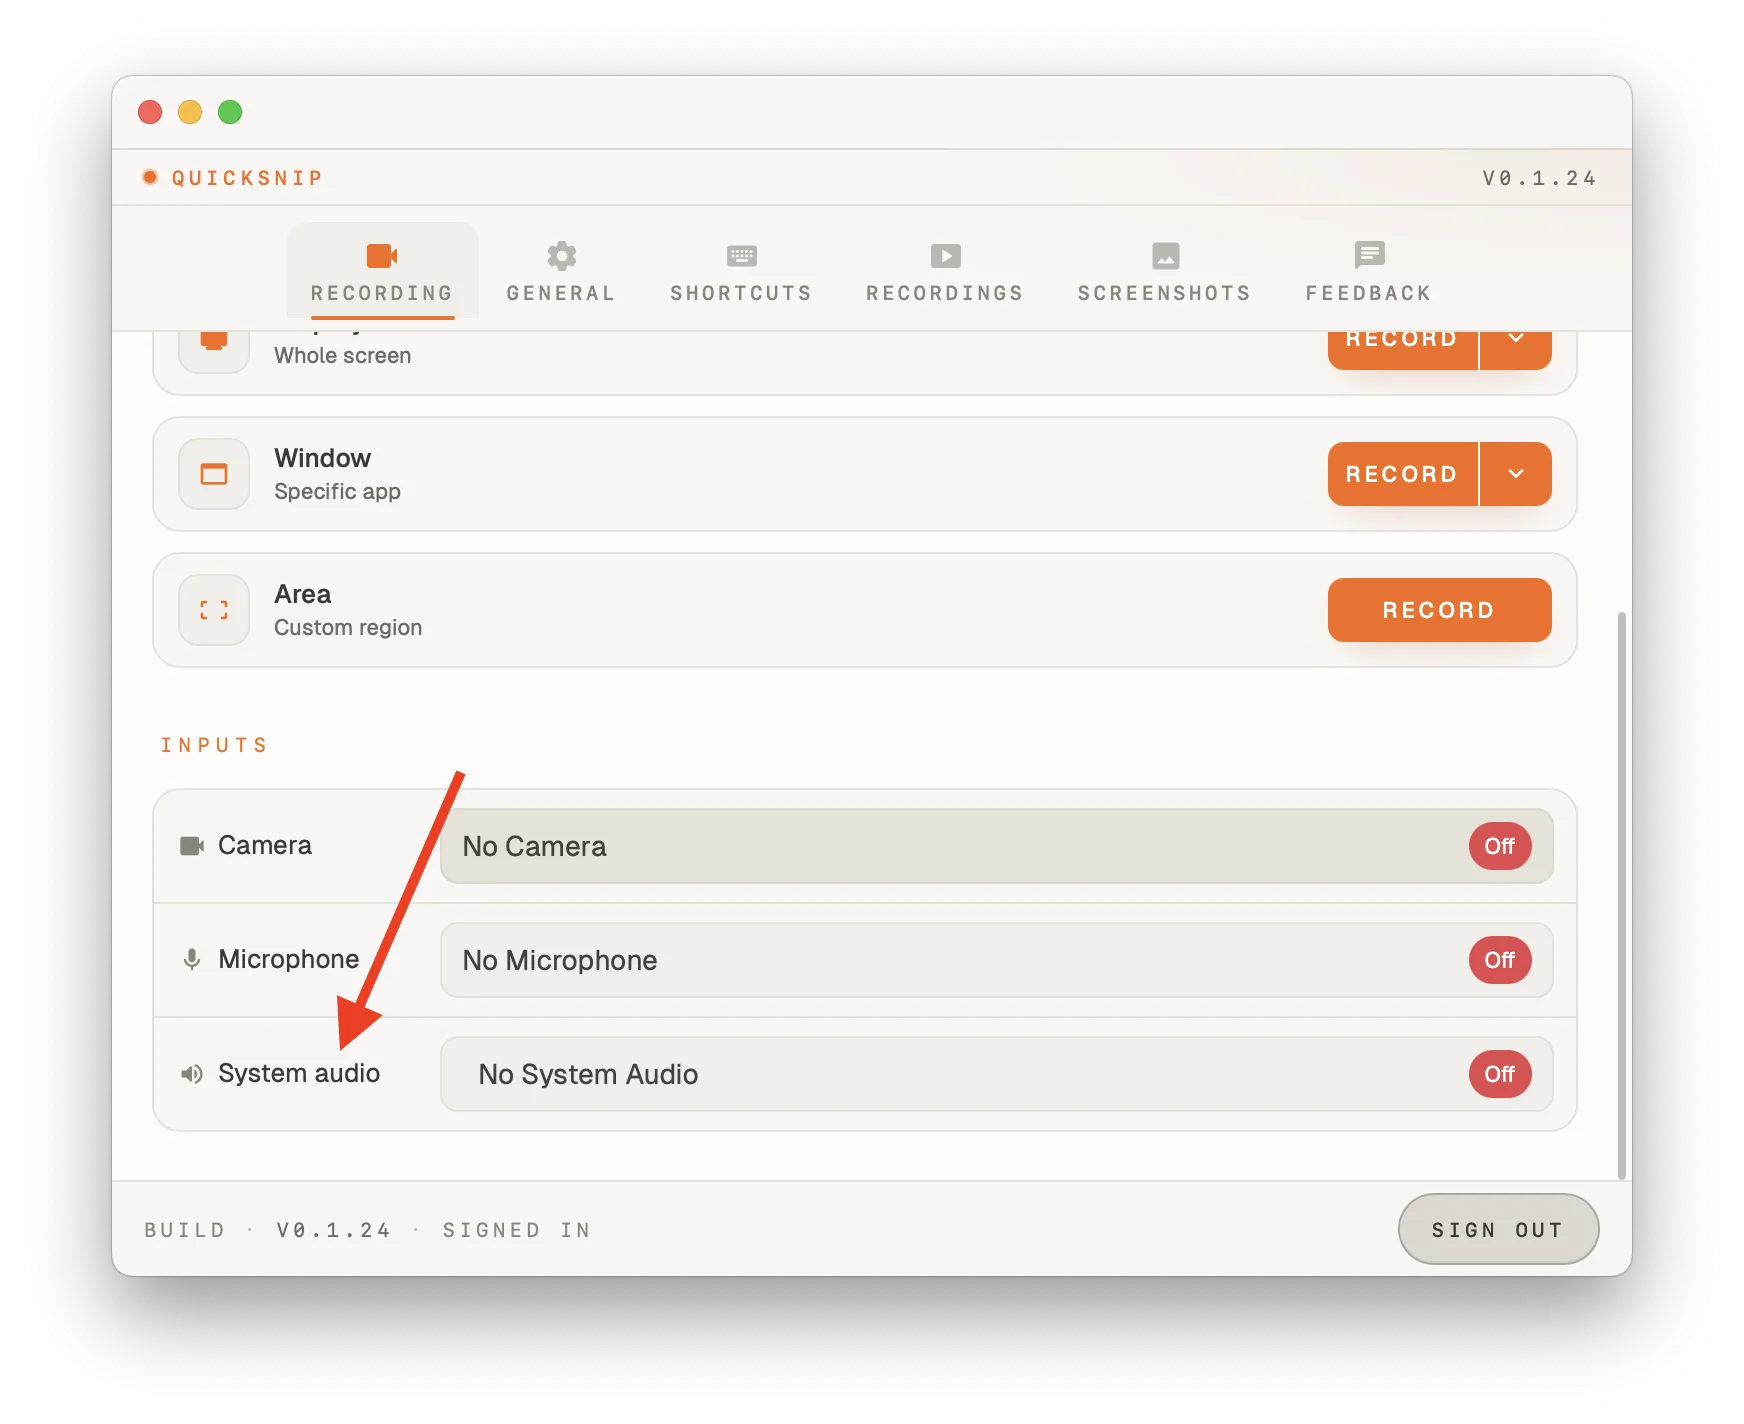
When to enable system audio:
- Demonstrating an app with sound effects
- Recording a video call (you'll capture both sides of the conversation)
- Walking through a presentation with embedded audio
When to disable system audio:
- Recording a silent walkthrough with voiceover only
- Avoiding notification sounds in your recording
- Working in a noisy environment with audio playing
Audio Levels
While recording, QuickSnip shows a visual indicator of your audio input levels.
If you notice the levels are too low or too high:
- Too low — Move closer to your microphone, or increase input volume in System Settings
- Too high / clipping — Move further from the mic, or reduce input volume
Troubleshooting Audio
No microphone appearing in the dropdown?
- Make sure you've granted microphone permission (macOS)
- Check that your microphone is plugged in and recognized by your OS
- Try quitting and relaunching QuickSnip
System audio not working?
- System audio capture requires macOS 13 (Ventura) or later
- On Windows, system audio is captured by default
What's Next
- Recording Modes — Choose between Quick and Studio mode
- AI Captions — Generate captions from your audio
- macOS Permissions — Fix permission issues
Can’t Find What You Need?
Reach out to our support team and we’ll get back to you within 24 hours.